用Swift写一个发送邮件的iOS用户反馈
为了接收用户反馈,很多 iOS 应用都会在设置页面中,加入发送邮件功能——尤其当应用是由个人开发者开发时。当然 iOS 中邮件的发送方式有很多种,有体验相对较差的 openURL 跳转方式,也有调用其他第三方库等办法。
不过较常用且方便的,还是如下图(应用为 潮汐),调用系统的 MFMailComposeViewController 视图在应用内完成邮件发送,并返回应用。

建立静态列表
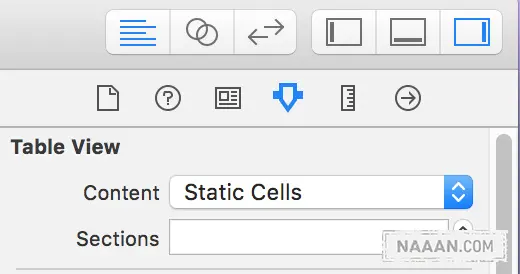
首先,拖一个 Table View Controller 到 main.storyboard 中,并选中 Table View 在右侧属性面板中将其设置为静态列表 Static Cells。
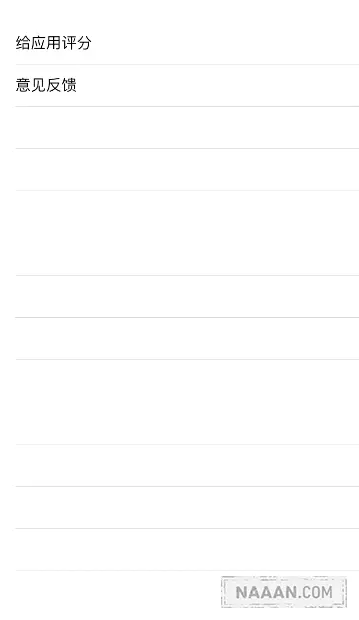
为了演示方便这里就先创建一个 Section,其中有两行 Cell。两个 Cell 的 Style 都设置为 Basic,并将 Title 修改如下。

接着在右边工具栏面板中为其设置好 Custom Class。由于这里暂时用不到这个 UITableViewController 类里的内容,可以把他们都注释掉或删掉。接着在其中重写一个 tableView 点选的函数:
override func tableView(tableView: UITableView, didSelectRowAtIndexPath indexPath: NSIndexPath){ |
在模拟器中运行,点按 Cell,检查 output 区中 print 的内容是否正常,然后就可以进入下一步。
二、MFMailComposeViewController
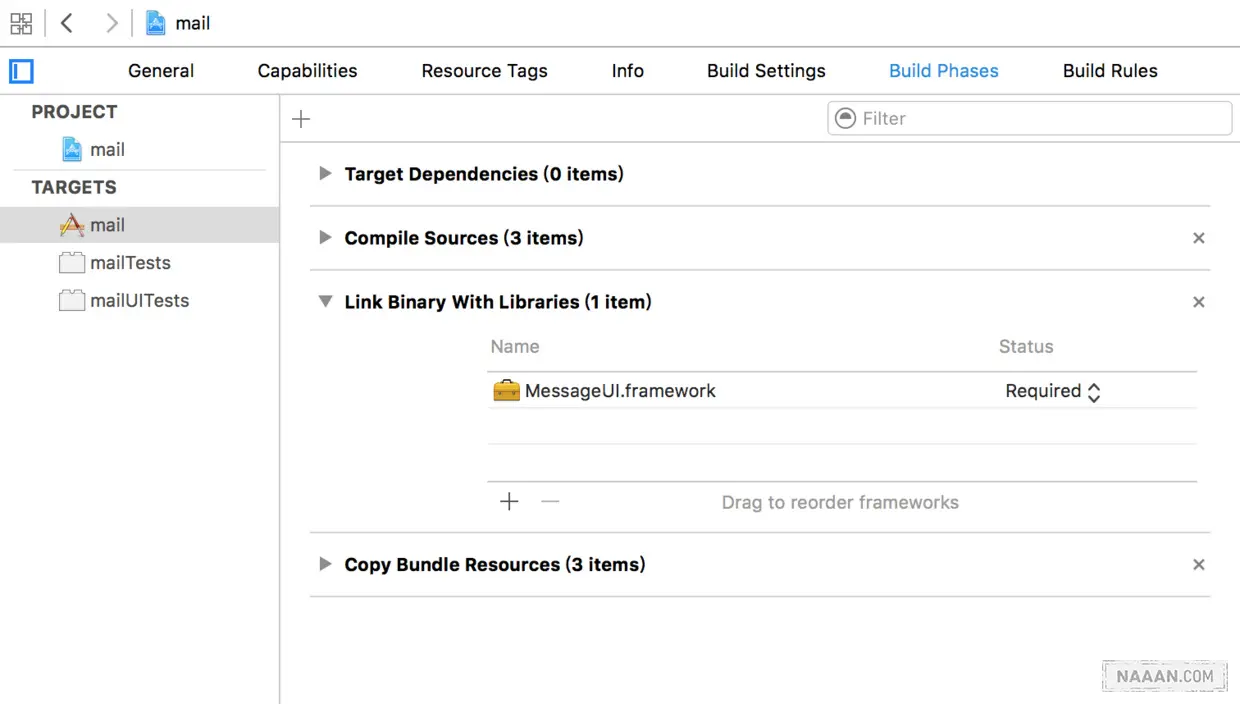
处理完 UITableViewController 以后,就可以开始调用邮件视图了。不过先不急着写代码,首先需要导入框架 MessageUI.framework。在项目设置 Build Phases 的 Link Binary With Libraries 中添加 MessageUI.framework。
然后在 Controller 里导入头文件 import MessageUI。并给 Controller 加上 MFMailComposeViewControllerDelegate 协议。
上述步骤搞定后,就可以愉快地写代码了。首先先写个函数,来配置发邮件的视窗。
func configuredMailComposeViewController() -> MFMailComposeViewController { |
鉴于这种发送邮件的方式,要求用户已经在设备上至少添加有一个邮箱,所以对没有设置邮箱的用户,还应予以提示。因此这里再写一个函数,来配置针对未设置邮箱用户的弹窗提醒。
func showSendMailErrorAlert() { |
搞定这俩函数后,就可以在之前的 tableView 函数中调用两者了。
if indexPath.section == 0 && indexPath.row == 1 { |
最后,写上 dismiss 邮件视窗的函数,就大功告成了。
func mailComposeController(controller: MFMailComposeViewController, didFinishWithResult result: MFMailComposeResult, error: NSError?) { |
三、加入设备及应用信息
为了获得更加准确的反馈信息,可以在邮件正文里加入反馈者的设备及应用信息。那怎样使用 swift 获得设备信息呢?可以如下通过 UIDevice 取得。
//获取设备名称 |
这里的设备型号 deviceModel 只能获知设备的简单区分(如是 iPhone 还是 iPad),如果需要详细的 iOS 设备信息,还需要写一个 UIDevice 的扩展。
// |
获取这些设备信息后,就可以在邮件正文中加入它们了,比如:
mailComposeVC.setMessageBody("\n\n\n系统版本:\(systemVersion)\n设备型号:\(modelName)", isHTML: false) |
同理,也可以获得应用的相关信息。
let infoDic = NSBundle.mainBundle().infoDictionary |
到这里,一个调用 MFMailComposeViewController 的 iOS 邮件反馈就基本写完了。运行的时候,要注意用模拟器的话可能会报错,测试需要真机环境。效果如下。